Manual install
This tag is the whole integration. Replace the key with your own, paste it once, and change nothing else: no extra attribute on your products, no button of your own, no product ID.
<script
  src="https://www.cabina.io/widget.iife.js"
  crossorigin="anonymous"
  async
  data-api-key="cab_live_YOUR_API_KEY">
</script>
Do not add an integrity attribute. The bundle URL is not versioned, so a pinned
hash would make the browser refuse the script at our next release — silently, and
with no way for us to warn you.
Put it anywhere inside <head>, or immediately before </body>. Both work: the
script is async and waits for the page itself.
First of all: your domain
Before pasting anything, authorise your store’s domain in the Cabina dashboard: Widget page, Allowed domains section. While that list is empty the widget shows up on no site at all, even with the tag or the plugin installed correctly — and it doesn’t say why.
Enter the exact origin: https://shop.com and https://www.shop.com are two
different origins; if the store answers on both, add both. Shopify and Wix
don’t need this step: the app registers the domain by itself when installed.
Where to paste it, per platform
Shopify
Themes
In your Shopify admin, go to Online Store → Themes.
Edit code
On your live theme, open the ⋯ menu and choose Edit code.
theme.liquid
Open layout/theme.liquid.
Paste
Paste the tag just before the closing </head> tag.
Save
Save. The change is live immediately — there is no theme to publish.
Shopify emits an Open Graph image on every product page, so the garment is found with nothing more from you.
WooCommerce
On WooCommerce there is a plugin: it does the tag’s job for you, and survives theme changes.
Install the plugin
In WordPress go to Plugins → Add New, search for Cabina and click Install Now, then Activate. It is the plugin on WordPress.org , and updates come from there like for any other plugin. It needs WordPress 6.5 or later, with WooCommerce active.
If your site cannot install from the directory, download cabina-woocommerce.zip and upload it from Plugins → Add New → Upload Plugin.
Configure
Go to Settings → Cabina and paste your cab_live_… key: you find it in the
Cabina dashboard, on the Installation page, WooCommerce tab.
Done
The button appears on product pages. Nothing to paste into the theme. If it doesn’t appear, the domain is almost always what’s missing: see the top of this page.
Alternatively, the tag goes into the theme:
A snippet plugin
In WordPress, install a code-snippet plugin (WPCode, Code Snippets) — or use your child theme.
Create the snippet
Create a snippet that runs in the site header and paste the tag there.
Or the child theme
With a child theme, add it to functions.php on the wp_head hook.
Check
Save and open a product page.
WooCommerce does not emit og:image without an SEO plugin. Cabina falls back
to the gallery image — see The garment image.
Wix
On Wix there is no tag to paste: the app is on the Wix App Market, and it is the only path.
App Market
In your Wix dashboard open the App Market and search for “Cabina”.
Add
Add the app and authorise the site: the API key is configured for you, nothing to copy.
Publish
Publish the site — on Wix nothing is live until you publish. The button appears on Wix Stores product pages, placed there by the app.
PrestaShop
On PrestaShop there is a module: it does the tag’s job for you, and survives a theme change.
Download the module
Download cabina.zip . It works on PrestaShop 8 and 9.
Upload
In the back office go to Modules, click Upload a module and drop the file.
Configure
Click Configure and paste your cab_live_… key: you’ll find it in the Cabina
dashboard, on the Installation page, PrestaShop tab.
Done
The button appears on your product pages. Nothing to paste into the theme, no cache to clear. If it doesn’t appear, the domain is almost always what’s missing: see the top of this page.
If you’d rather not install modules, the tag goes into the theme:
Theme & Logo
Go to Design → Theme & Logo, then open your theme files (or use FTP).
head.tpl
Open templates/_partials/head.tpl in your active theme.
Paste
Paste the tag before the closing {/block} of the head block.
Clear the cache
Save, then clear the cache under Advanced Parameters → Performance.
Any other theme
Find the template
Find the template that produces the <head> of every page — the filename changes
with the platform.
Paste
Paste the tag anywhere inside <head>, or immediately before </body>.
Once only
Paste it once. A second copy stops itself and warns in the console, but it is still worth removing.
Reload
Reload a product page.
Cabina needs no template variable, no product ID and no extra markup. One script tag is the whole integration.
How you can tell it worked
Open a product page. Cabina finds your buy block and puts its button right underneath it — you write no markup for this.
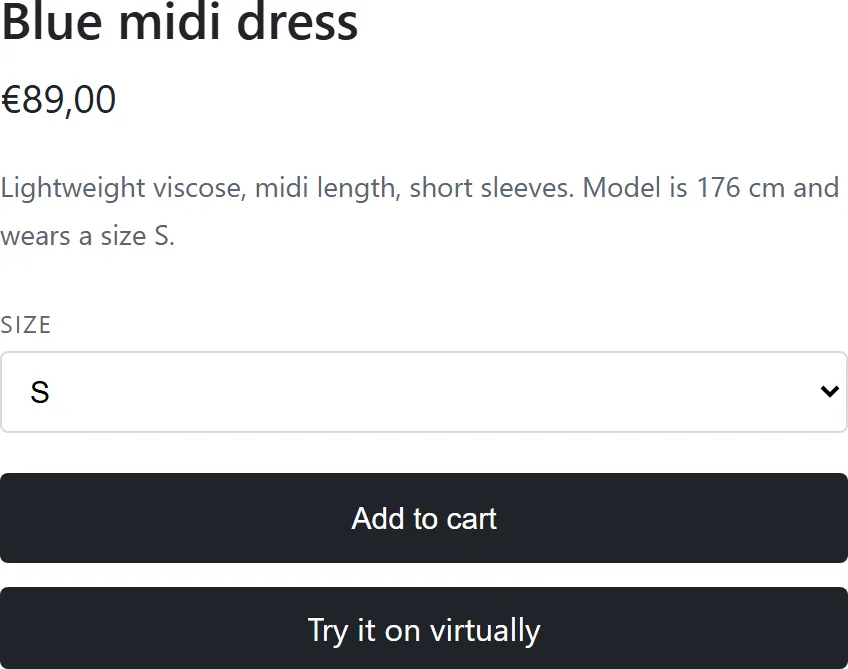
The button takes its label and its colour from your dashboard settings, and inherits your theme’s font.
No button? Open your browser console — Cabina says why, in one line. Jump to Troubleshooting.
Moving the button
Cabina looks for the buy block using the list below, in order, and inserts its button right after the first match.
| Anchor | Typical platform |
|---|---|
.product-form__buttons | Shopify |
form[action*="/cart/add"] .product-form__submit | Shopify |
form[action*="/cart/add"] | Shopify |
form.cart | WooCommerce |
.single_add_to_cart_button | WooCommerce |
.product-add-to-cart | PrestaShop |
#add-to-cart-or-refresh | PrestaShop |
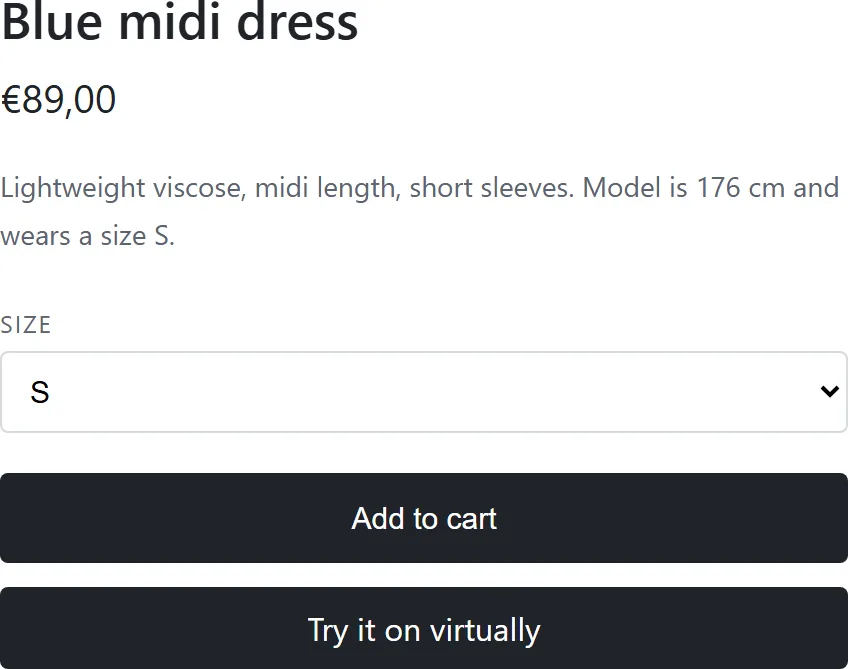
On a custom theme none of them usually matches. Then the button is appended to the end of the page — below the footer, out of sight. Nothing is broken; it is just in the wrong place.
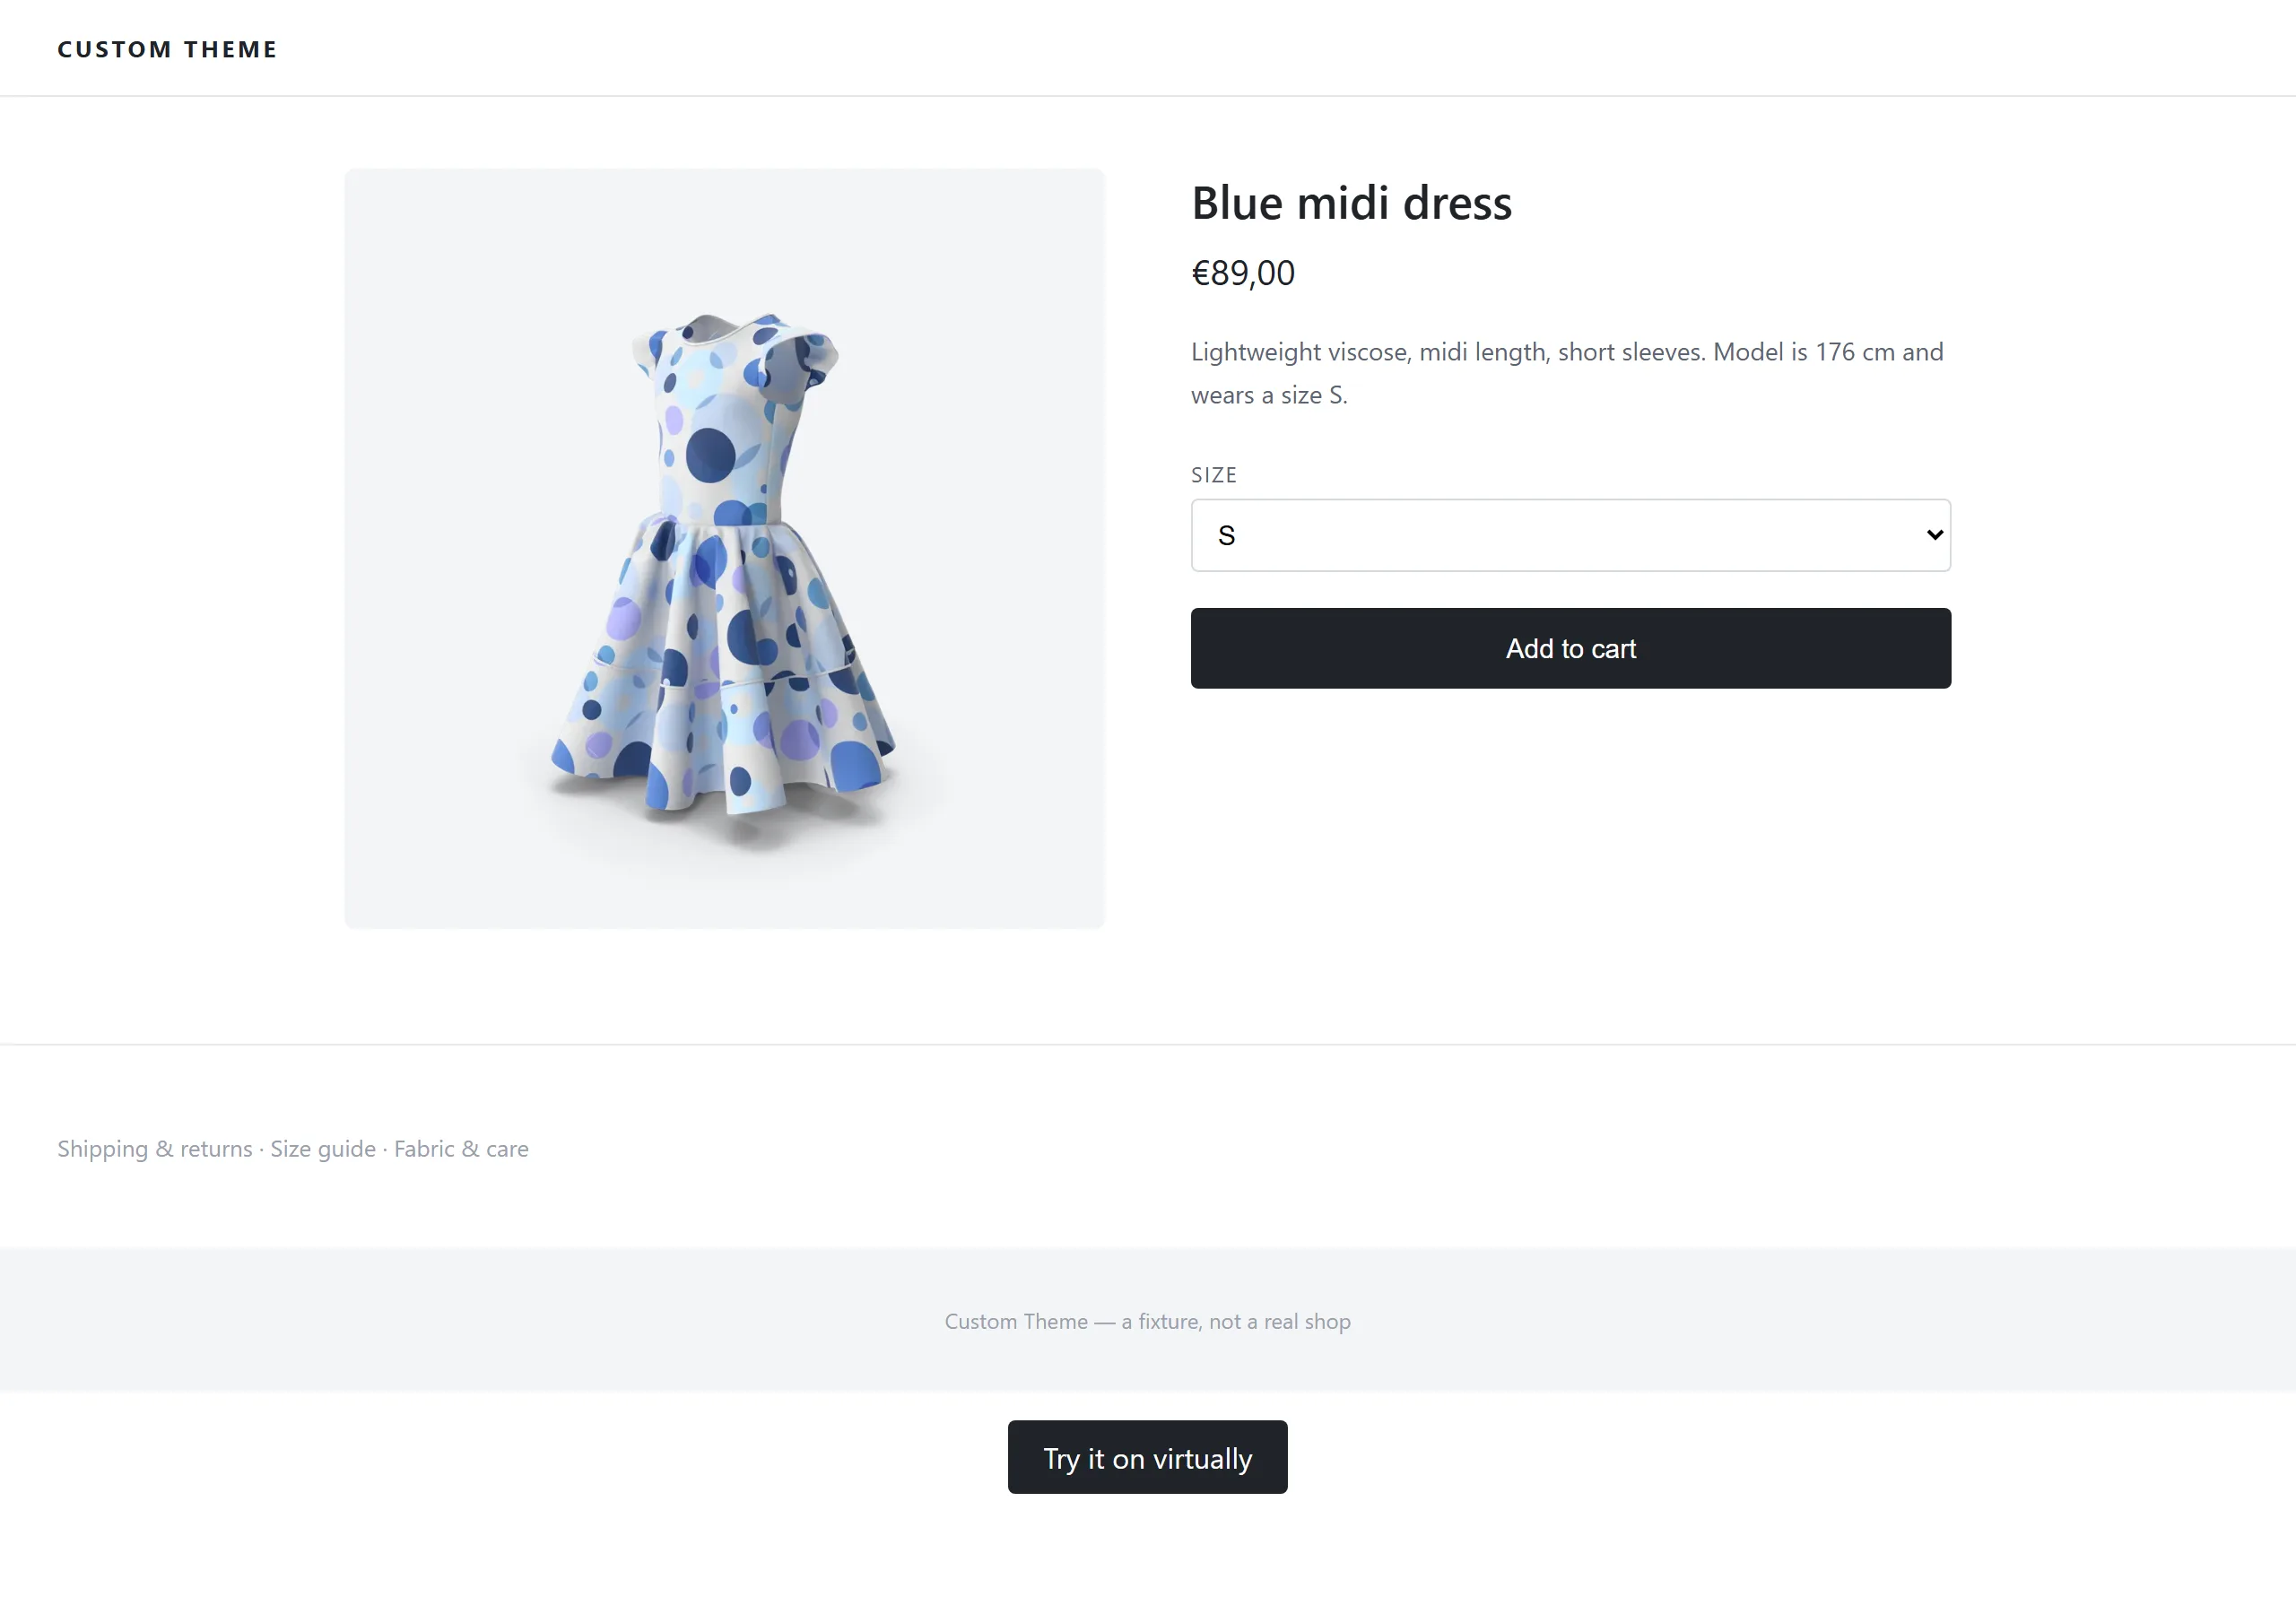
The fix is one empty element in your product template, wherever you want the button:
<div data-cabina-target></div>That attribute beats every anchor above, and the button is placed inside the element, not next to it.
The garment image
Cabina reads the garment straight off your product page. It tries, in order:
og:image, then twitter:image, then the first image matching one of these
selectors:
| Gallery selector | Typical platform |
|---|---|
.woocommerce-product-gallery__image img | WooCommerce |
img.wp-post-image | WooCommerce |
.wp-block-woocommerce-product-image img | WooCommerce |
.product__image img | Shopify |
.product-image img | Shopify |
.product-photo img | Shopify |
.product-single__photo img | Shopify |
[data-product-image] img | Shopify |
.product-featured-image img | Shopify |
.product-gallery img | Shopify |
.product-img img | Shopify |
.product__media img | Shopify |
.main-product-image img | Shopify |
If none of the three finds an image, the button still appears and the try-on fails partway through. It is the one failure your shoppers notice before you do.
The general fix, good on any platform, is to emit an Open Graph image in your product template:
<meta property="og:image" content="https://your-store.com/images/product.jpg">It is worth doing anyway: the same tag is what Facebook, WhatsApp and Slack use to preview your product links.
What your shopper sees
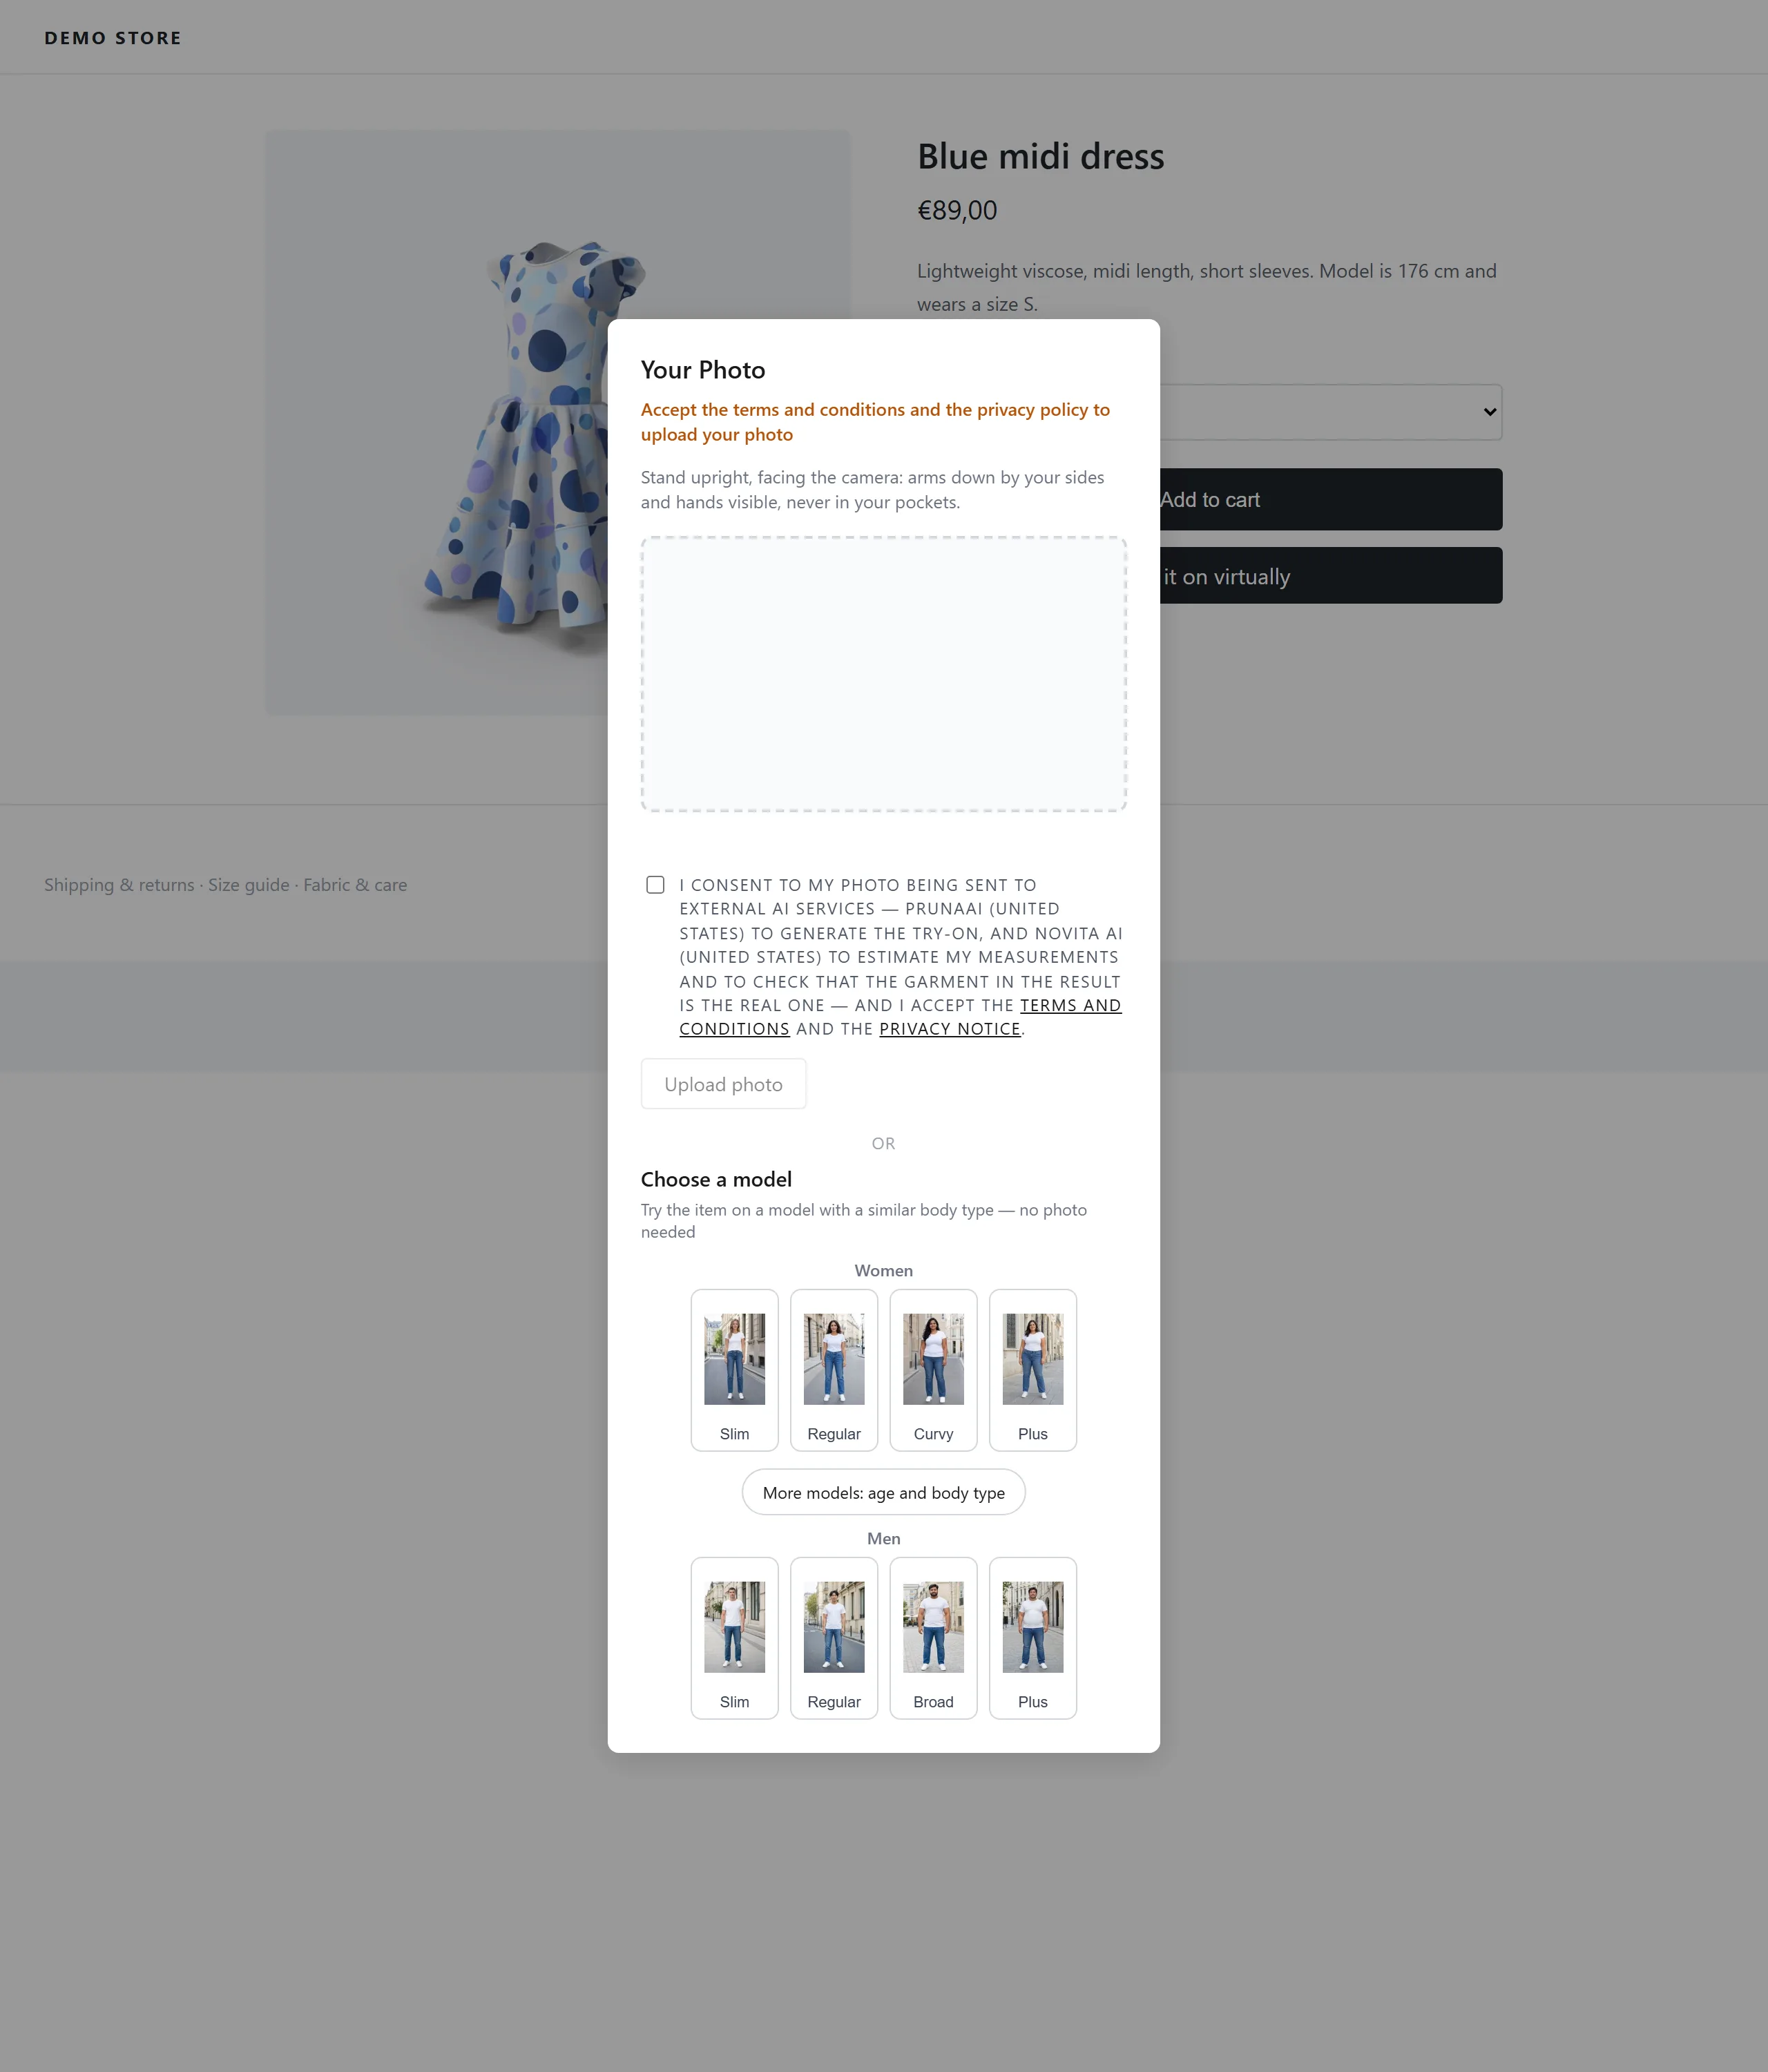
Nothing leaves their device until they tick the consent box, and the preset models need no photo at all. On children’s garments (a size chart with Who it is for set to children) the fitting room shows only the 18 under-16 preset models and never asks for a photo.
The button label is yours, chosen in the dashboard: it is not a Cabina translation. The fitting room interface, on the other hand, does follow the language of the page.
For AI agents
The same contract, written for a machine and served as raw markdown — no screenshots, plus a decision tree and the commands to verify an install from a terminal: cabina.io/en/docs/agent.md .